I tried importing the model I made in Sketchup over to 3Ds Max to try and work it up but when it transferred it added a lot of UN-necessary polygons so I decided to just use it as a reference and start over.

I was then walked through the best way to reproduce the bay window of my shop.

I then started to measure a base cube to work from but realized that the scale in 3Ds Max and what is used in UDK is different.

To help with this I got rid of the Sketchup model and found a 3Sd Max model of the UDK man to use as a scale reference.
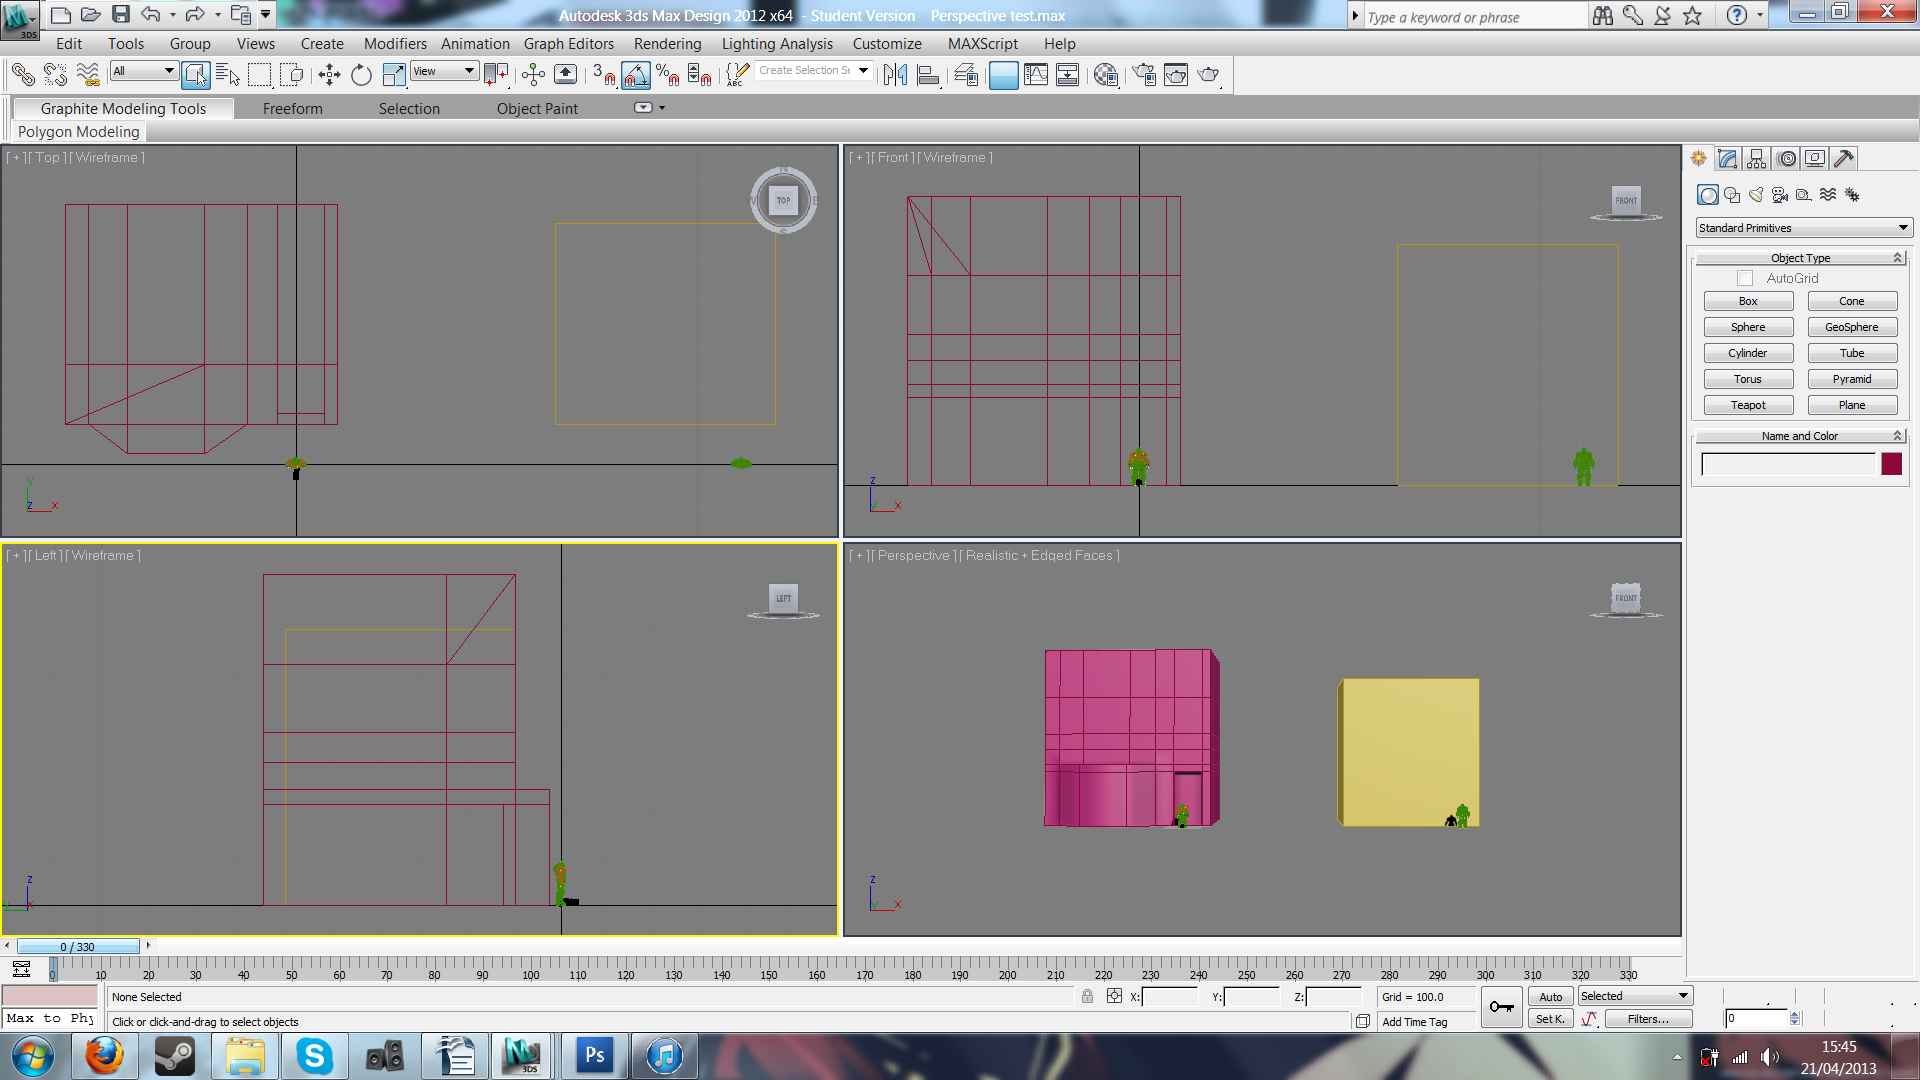
After making a new cube that was a good proportion to the UDK man I then detached the front of my building to add detail this allowed me to use the loop tool and not add unnecessary polys to the sides and back of the building.

I then attached the front of the house to the back and made a gutter and drain pipe which was also attached to the front.

To help me see which area I had selected in the UV map window I was suggested to add a checkered texture. this allowed me to see which areas were lined up correctly by the way the pattern lines up on the model.

I then grouped the UV sections into groups like windows, drain pipe, door etc.

While doing this I noticed a few polygons that were not needed like the base of the door and the caped poly at the bottom of the drain pipe. I will have to be more thorough in looking for access polygons when I start more advanced projects.

This was my first attempt at the UV map but when it came to putting poster images in the window I realized that the windows could be moved and made bigger allowing for a higher quality image.
This was a much better layout and allowed me to keep the quality of my images.

This is the basic map with all the textures in place.

I then used 3Ds max to create a light map for my model and add more detail to my texture.

I also made a bump map for my model but found out that you cannot use these in UDK but its still nice to have when looking at the model in 3Ds Max.

The posters I used are from; One Piece Movie Z, Soul Eater, Gurren Lagann, Death Note and Dragon Ball Z Movie: Battle of the Gods. I am happy with the end result but if I was to do it again I would try and find some better doors and maybe make a few more signs for the shop window like opening times etc.
